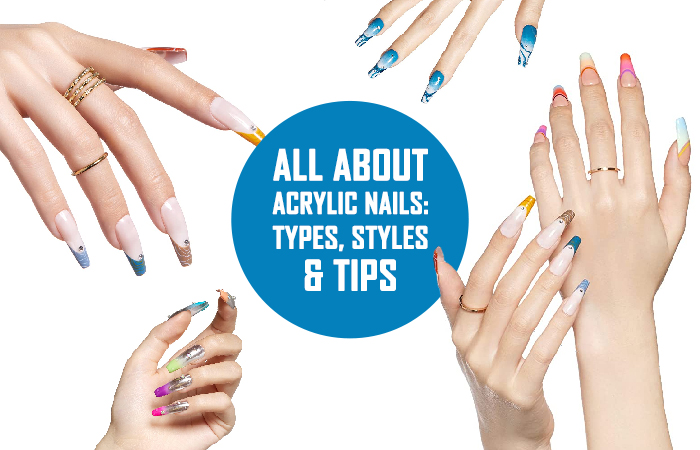
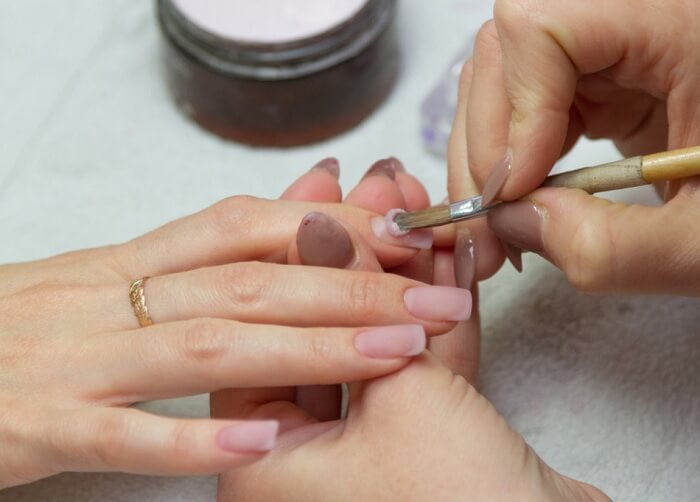
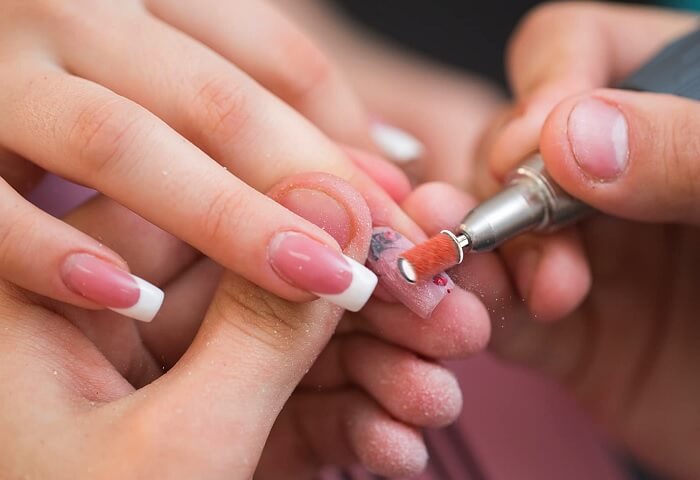
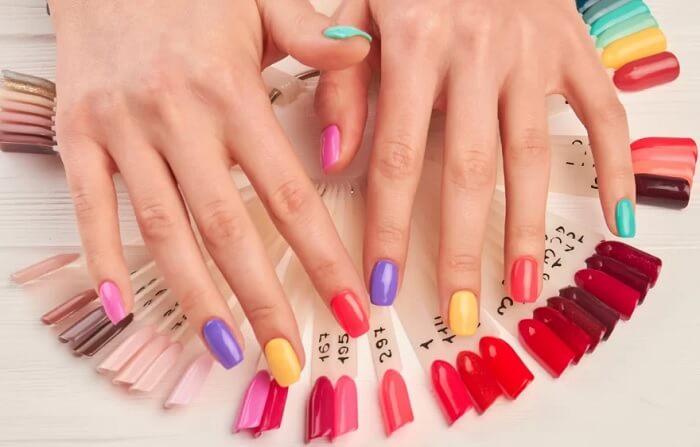
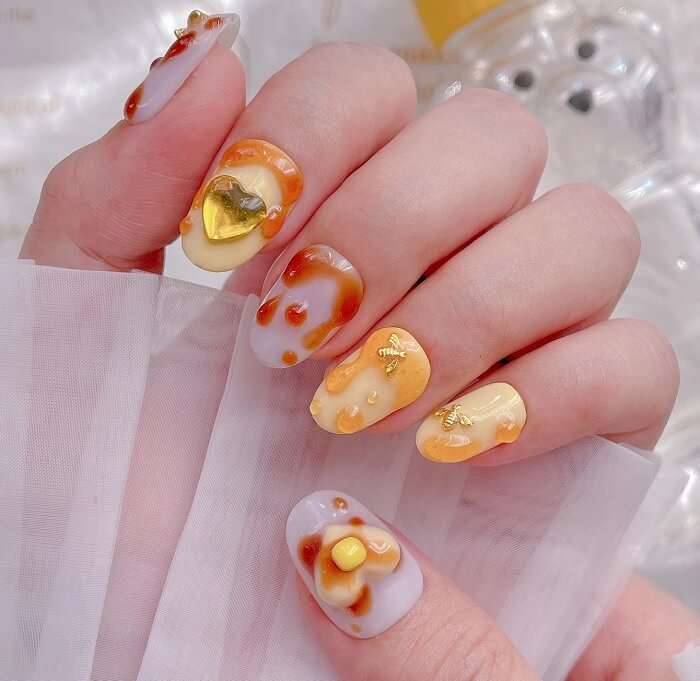
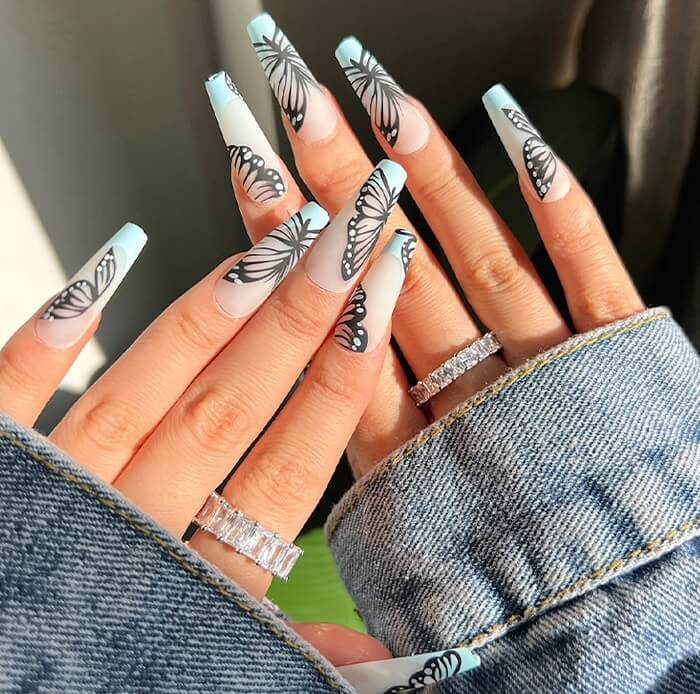
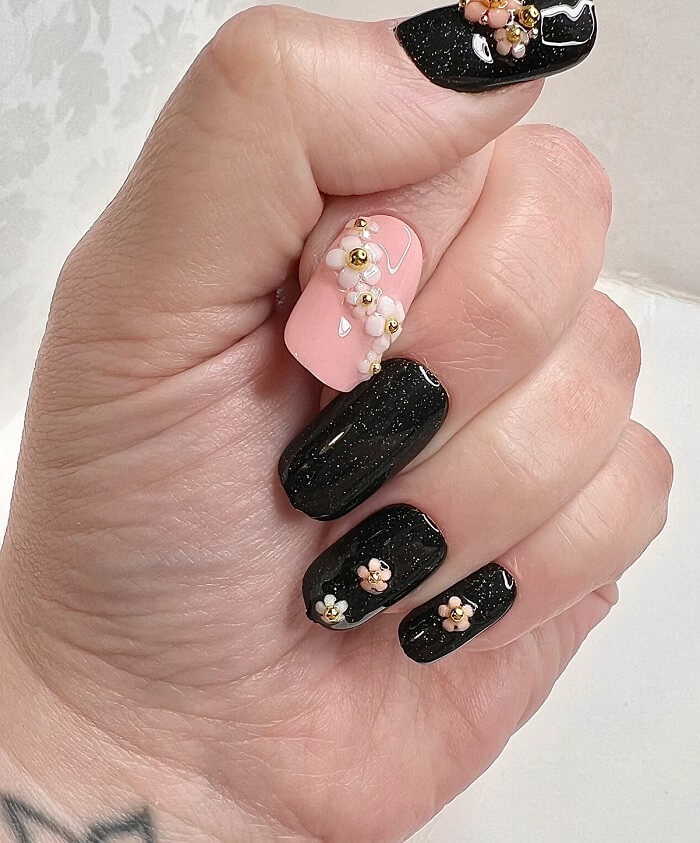
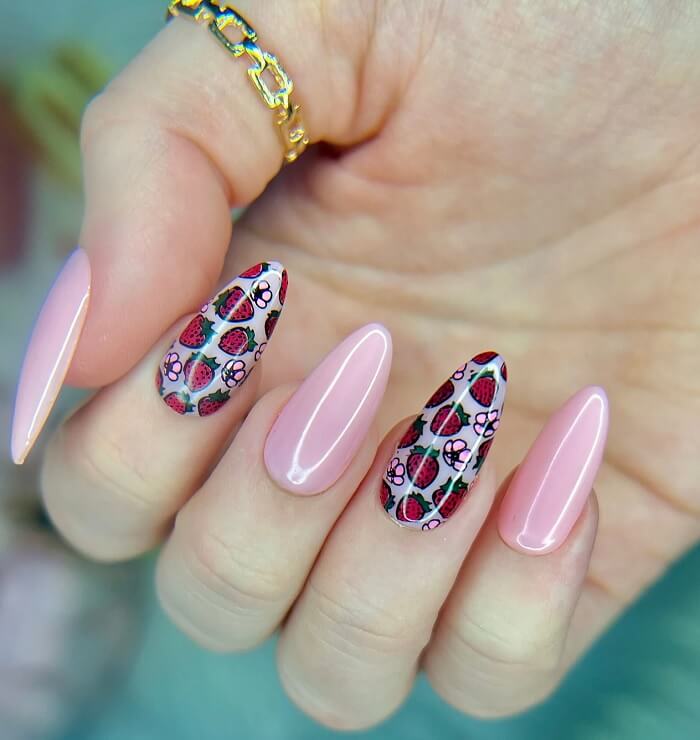
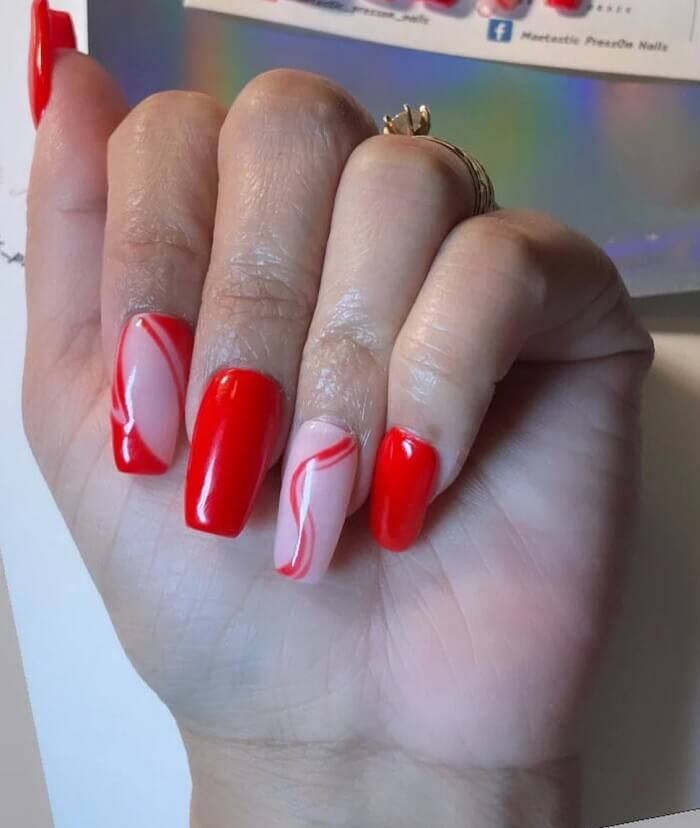
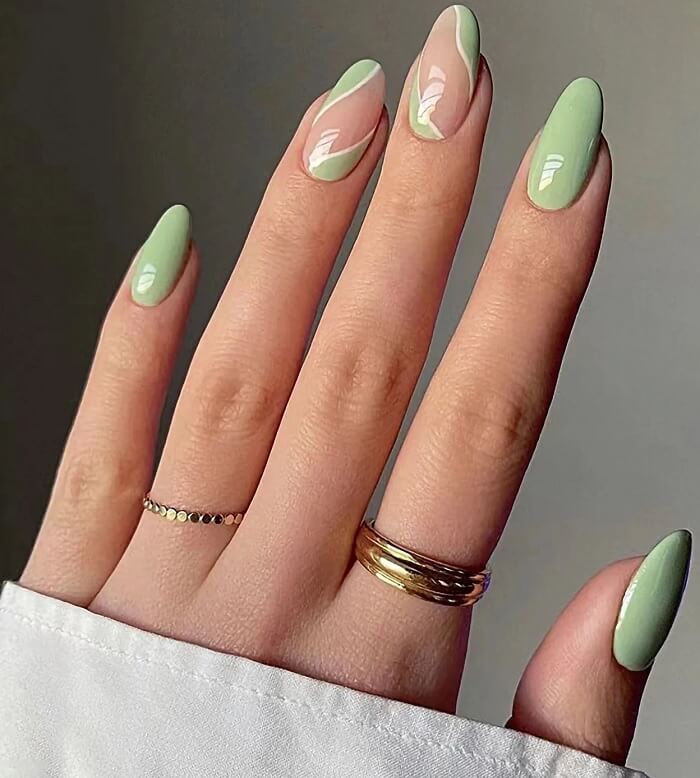
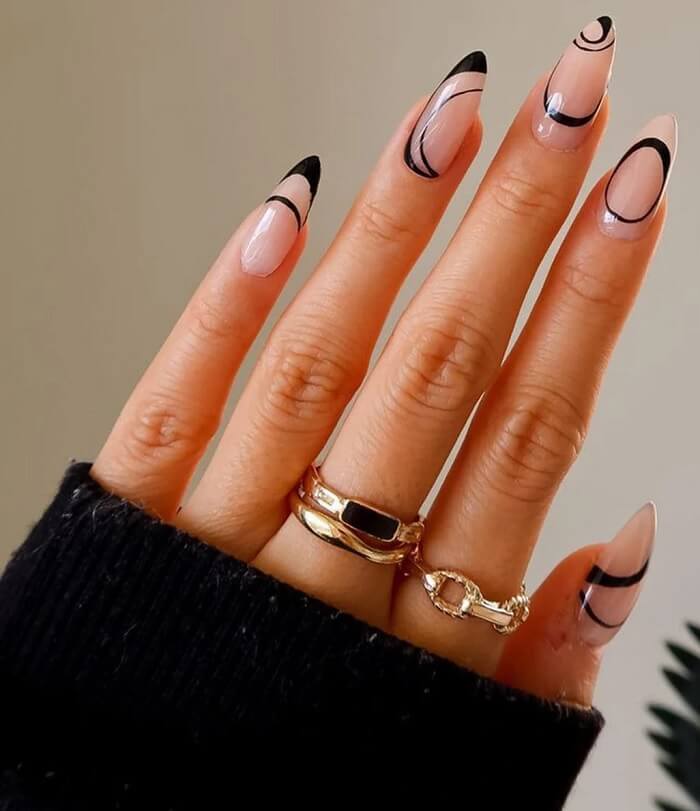
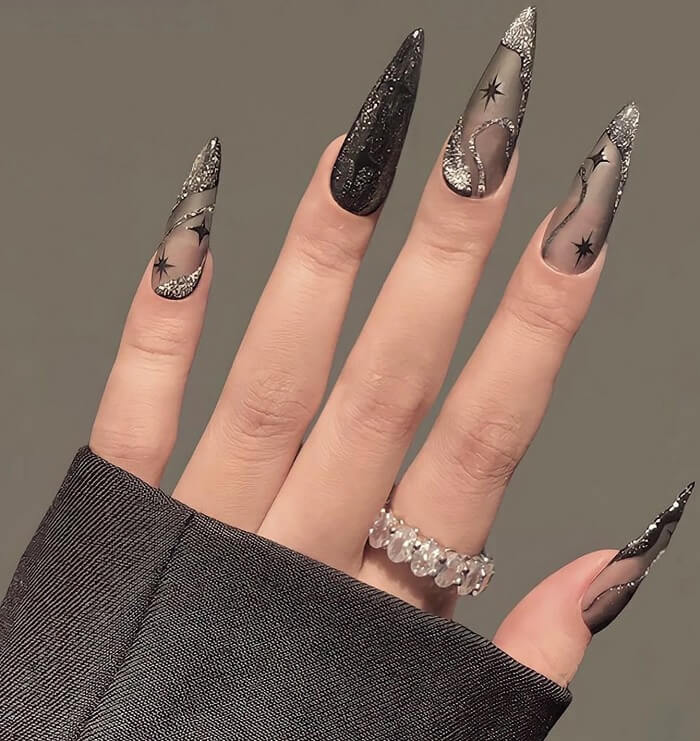
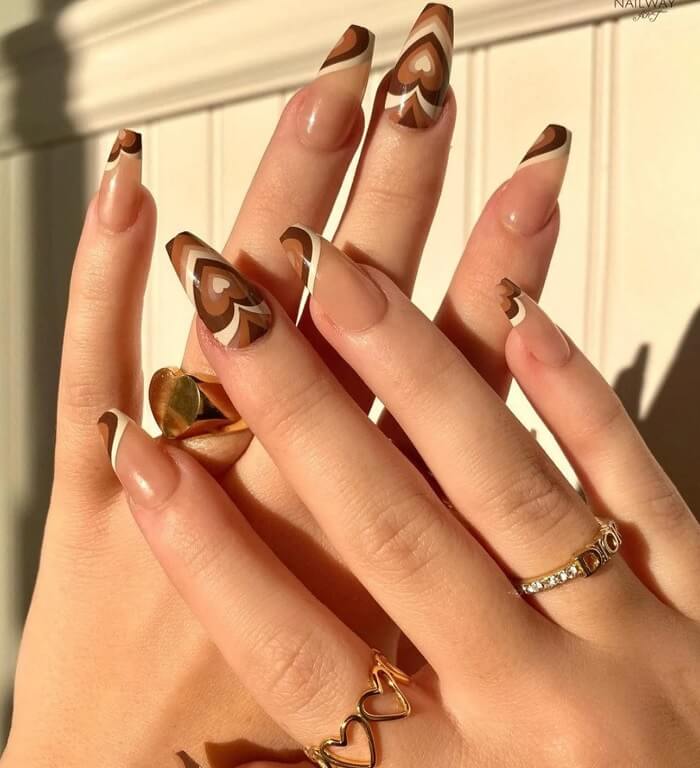
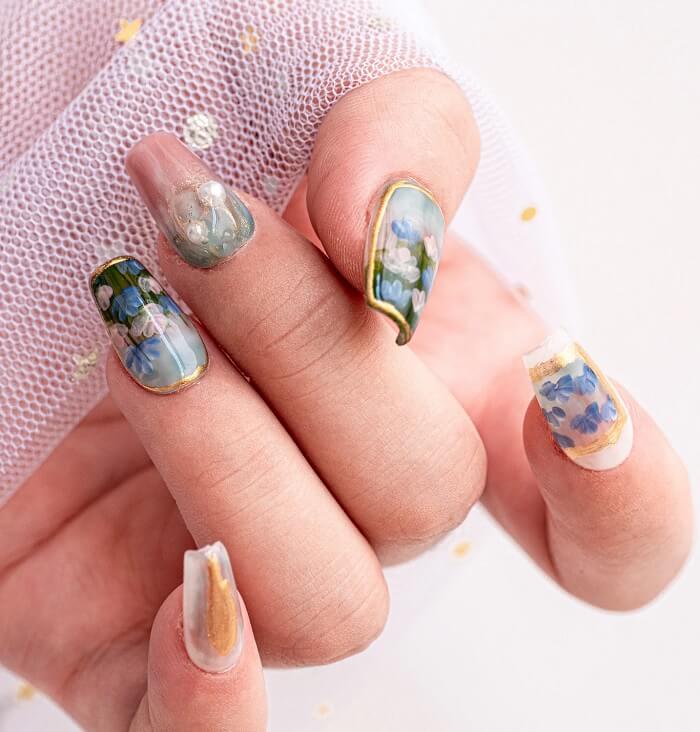
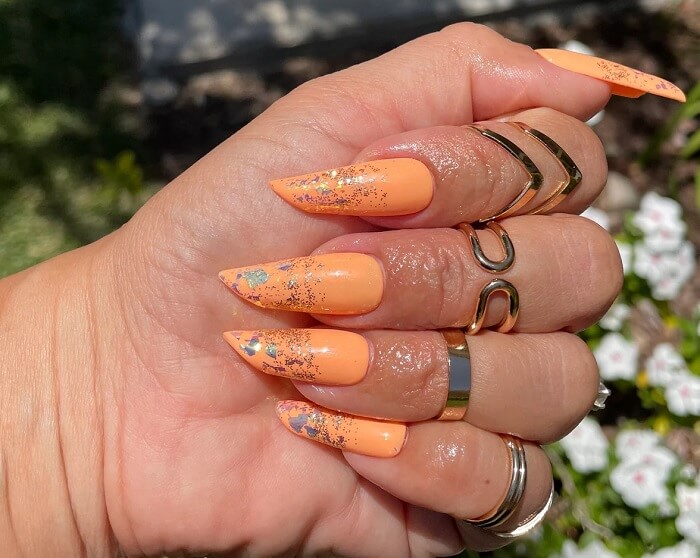
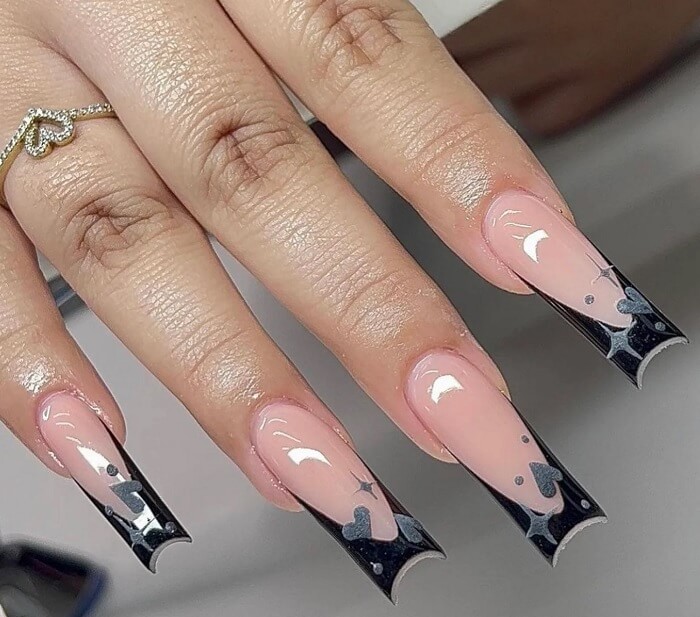
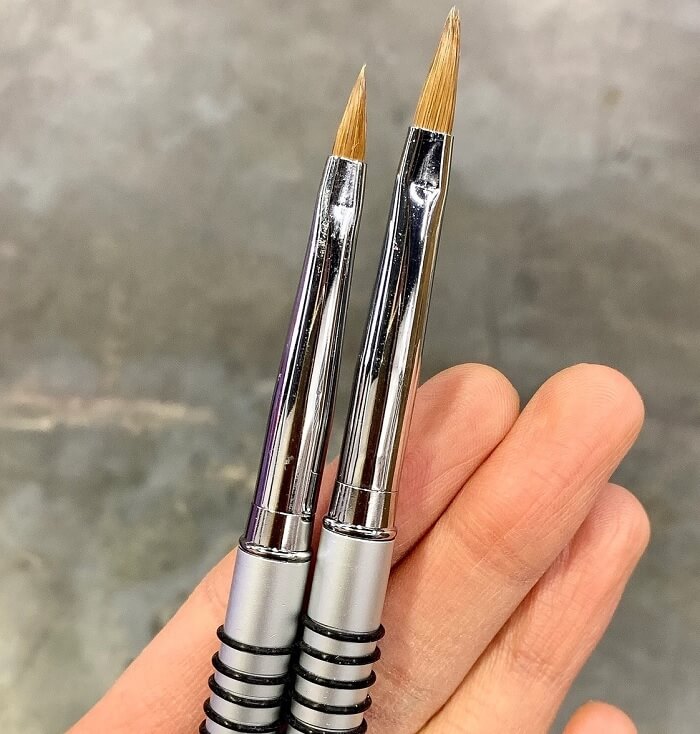
Acrylic nails have become an integral part of the beauty world, with their ability to transform a dull and lifeless set of nails into a stunning work of art. These nails are made from a combination of liquid and powder that is carefully molded into various shapes and sizes, giving you the perfect set of nails that you have always dreamed of. From glittery finishes to bold and vibrant colors, acrylic nails have the power to elevate your style and add a touch of glamour to your everyday look.
Where Do Acrylic Nails Originate From?
- From bone, ivory, and gold in ancient Egypt to pistachios in 19th-century Greece, acrylic nails have a rich history of nail enhancement dating back centuries.
- In a serendipitous turn of events, modern acrylic nails were born in the 1950s when a resourceful dentist utilized dental acrylics and chemicals to fashion a replacement nail after breaking his own.
What Are Acrylic Nails?
- By blending a liquid monomer with a powder polymer, a transformative paste is created that securely bonds to the natural nail, resulting in the beloved acrylic nail aesthetic.
- Through shaping and hardening in place, acrylic nails provide enhanced strength, length, and thickness to the natural nail, achieving the desired look.
- When it comes to enhancing the look of your nails, acrylic nails, also referred to as fashion nails, can be a great choice if you struggle with brittle, short, or misshapen nails.
Acrylic Nail Applications Items Required:
1. Acrylic nail polish
2. Topcoat
3. Cotton pads or balls
4. Nail file
5. Nail buffer
6. Cuticle pusher (orange stick)
7. Primer
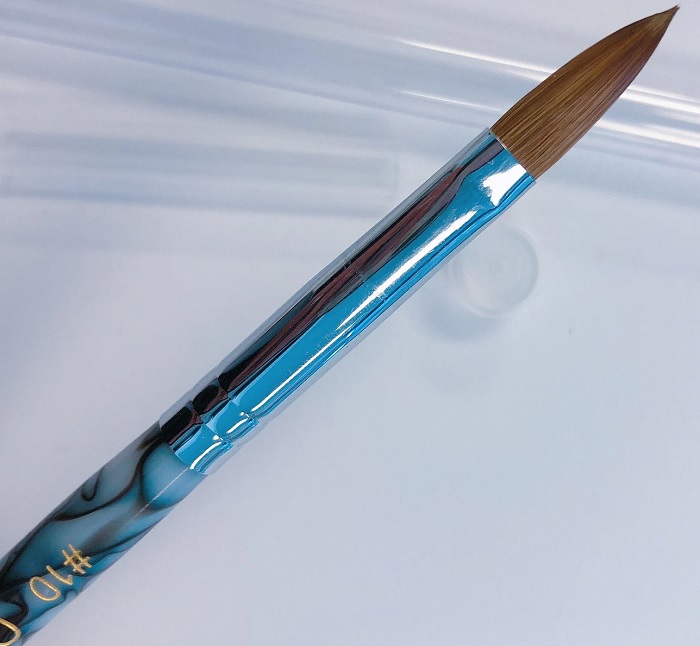
8. Acrylic brush
9. Acrylic powder
10. Liquid monomer
How To Apply Acrylic Nails?
Step 1: Prep The Nails
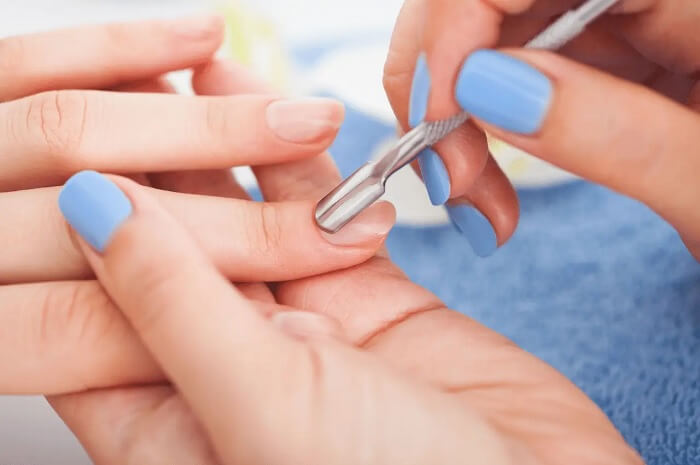
Ensure your nails are clean before starting any task. For the optimal application of acrylic material, it’s essential to create a smooth base. Make sure to eliminate any nail polish and push back the cuticles.
Step 2: Trim Nails
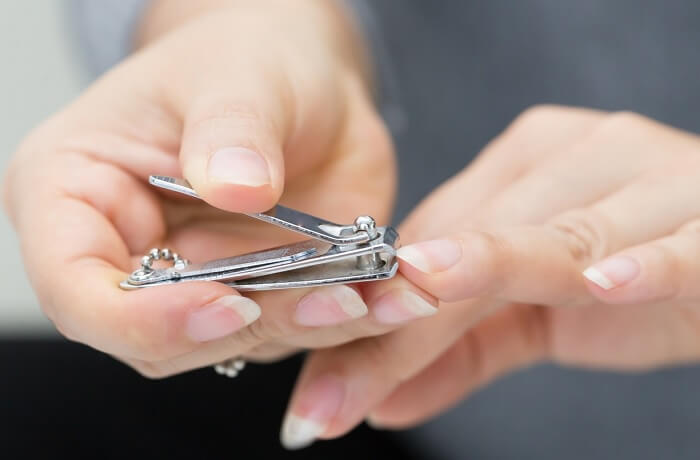
To facilitate the attachment of the nail extension, the manicurist may trim and file your nails, leaving a few millimeters.
Step 3: Buff Nails
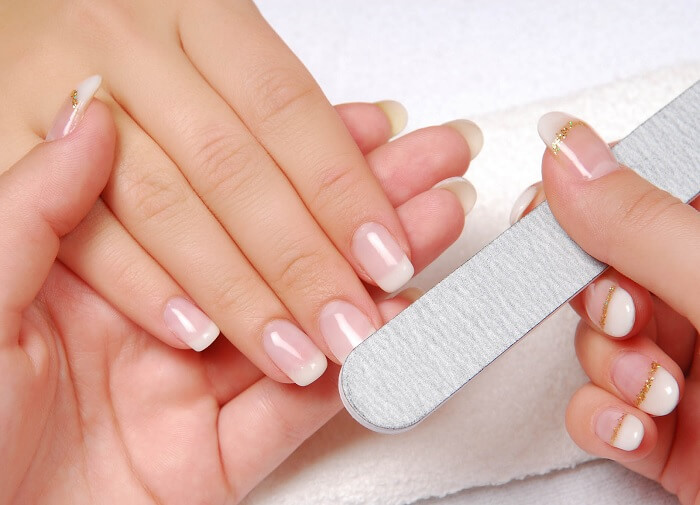
Afterward, your nails will be buffed to create a slightly rough surface, which aids in the adhesion of the acrylic material.
Step 4: Nail Primer
To eliminate any residual moisture and oil from the nails, a nail primer is applied. Begin by cleaning the nails with a cotton swab dipped in acetone, then apply the primer to the nails. Methacrylic acid is an acid that can be found in certain types of nail primers. While using it, it can cause a burning sensation. If you’re unsure, you may want to opt for an acid-free primer.
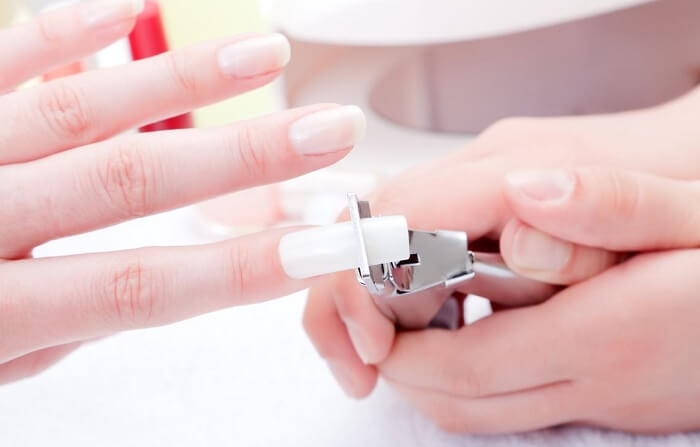
Step 5: Application Of The Tips
Now the actual application process begins. The tips will be filed to match your natural nails and then affixed to your real nails using glue. It’s important to avoid getting glue on your skin. The nail can be customized to your desired size and shape by cutting and sizing it appropriately.
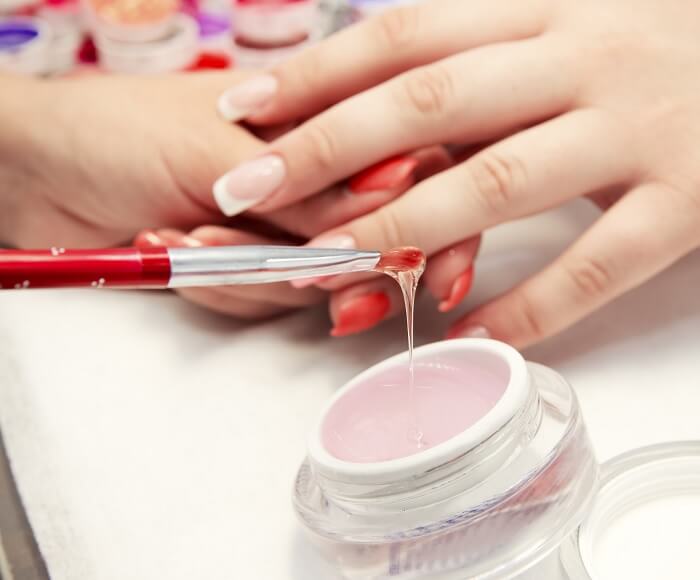
Step 6: Prepare The Acrylic Material
An acrylic dish will be used to hold the liquid, while another dish will contain a portion of the powder for mixing.
A note of caution: Acrylics can emit pungent fumes, so make sure to use them in a properly ventilated space.
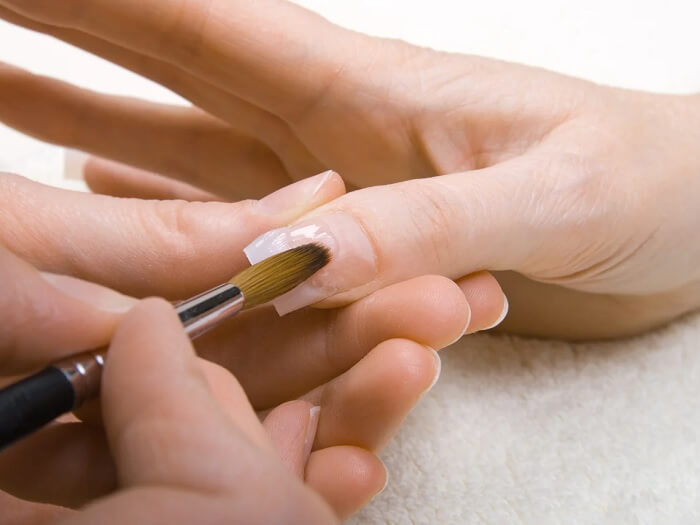
Step 7: Pick Up the Acrylic With The Brush
With precision, the manicurist will immerse the brush fully into the liquid. Ensure that there are no bubbles present. To avoid dripping, she will swipe any surplus liquid against the edge of the dish using the brush. Next, she will glide the brush across the powder to form a damp ball. This is the substance that is meant to be applied to the nail surface.
Step 8: Apply The Mixture
While avoiding the cuticles, she will apply the mixture onto your nails and gently level it as it’s being put on. Blending the tip with your natural nails seamlessly is crucial for a flawless finish. If needed, you may add an additional layer for more even coverage.
Step 9: Let It Dry
It typically takes around ten minutes for the substance to dry completely. Afterward, smoothen the nails by buffing and filing them.
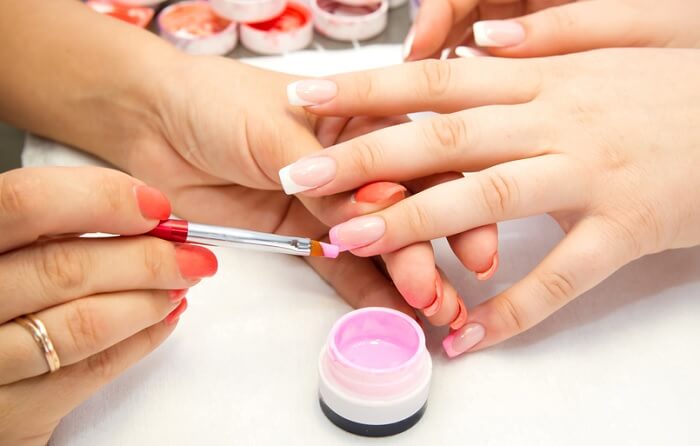
Step 10: Finishing Touches
You are now ready to paint your nails.
How to Find the Best Nail Shape for Your Hands
- Round Nails
- Square Nails
- Rounded Square Nails
- Oval Nails
- Squoval Nails
- Almond Nails
- Mountain peak
- Stiletto Nails
- Coffin Nails
- Ballerina Nails
- Lipstick Nails
- Cutout Nails
1. Round Nails
This nail shape is the original and the basis for all other nail shapes. The round shape is a timeless and versatile option suitable for any occasion. Whether you prefer short or long nails, you can achieve a rounded shape effortlessly. If you struggle with growing out your nails, the rounded shape is an ideal go-to look for you.
How to create: Create a round tip by filing the nails along the natural arch of your fingers.
Best length: Short, Long
Great for: Anyone who works with their hands or wants a style to elongate fingers.
2. Square Nails
A classic and popular option, the square nail shape is a timeless choice. Whether you prefer short or long nails, you can rock a square finish with ease. The square shape provides a wider surface area, making it an excellent choice for those who love to flaunt a French manicure. Not only is the square shape classy, but it is also effortless to maintain at home. With long fingers will find the square nail shape to be particularly flattering.
How to create: Creating a square nail shape requires filing the nails straight across the top, squaring off the edges, and tidying up the edges with a file.
Best length: Short, medium, long
Great for: This shape is perfect for those with slender fingers or narrow nail beds, or for those who desire a chic and strong appearance.
3. Rounded Square Nails
Rounded square nails feature a unique shape that combines the sturdiness of square nails with the softness of rounded edges. If you’re looking for a nail shape that’s not too angular, but also not too round, the rounded square shape may be perfect for you.
How to create: Begin by filing your nails straight across the top to achieve a square shape, and then round the edges for a softened, elegant look.
Best length: Short, medium, long
Great for: For anyone seeking a chic and low-maintenance nail shape with soft edges, rounded square nails are a great choice.
4. Oval Nails
Oval nails offer the perfect balance between the softness of a round shape and the structure of a square shape. The Oval has a slight curve, but not as much as a fully rounded nail shape. Some may call this a “U” shape. Over-filing or under-filing the edges can result in either an almond or a round shape, so it’s important to be cautious. In case you have broad nail beds, this shape may suit you well.
How to create: Begin by filing across as if you were crafting square nails, and then delicately file down the corners and edges to shape them into a curve.
Best length: Medium, long
Great for: Individuals who wish to even out broad nail beds or compensate for short fingers, require ample space for nail art, or prefer a durable and elegant shape can opt for this.
5. Squoval Nails
“Squoval” is a term formed by merging the words “square” and “oval.” The squoval shape tends to lean a little more towards the square appearance. For most nails, this is an edgy and eye-catching appearance that works well and is an excellent option if you’re uncertain about choosing between square or oval.
How to create: To create a “squoval” shape, file across and down the edges as if you were forming an oval shape, but make sure to keep the edges a bit rounded.
Best length: Short, medium, long
Great for: who wish to even out wide and long nail beds or prefer an elongated, somewhat square shape can choose this option.
6. Almond Nails
To obtain a genuine almond shape, your nails must be relatively long, whether they’re natural or extensions.
How to create: File across the top and down the edges as if you were forming an oval shape, but gradually taper the edges into a rounded peak at the tip.
Best length: Medium, long
Great for: Those who desire to lengthen their fingers or favor longer nails can opt for this style.
7. Mountain Peak Nails
As the name suggests, the mountain peak shape culminates at a point at the top and typically has a shorter length. If you want something unique and playful yet practical for everyday wear, the mountain peak shape is an excellent option to consider. In addition, you’ll have one less thing to worry about with the mountain peak shape, as the nails are less prone to breaking compared to the longer styles.
How to create: Use a nail file or clippers to shape the top of your nails into a peak, then utilize a nail file to refine the edges and create a rounded point at the tip of your nails.
Best length: Short, medium
Great for: If you desire a sleek, pointed tip but do not want the length of other comparable nail shapes, this style is an excellent choice.
8. Stiletto Nails
Stiletto nails share similarities with mountain peak nails, but they are longer and more pointed, resembling a thin, elongated stiletto heel. The elongated shape of stiletto nails can give the illusion of longer, slender hands. Stiletto nail shapes can be a perfect canvas for embellishments like rhinestones, gems, and other extravagant nail art.
How to create: File the edges of your nails as if you were shaping an almond shape, then taper the edges and top of the nail to form a sharp, pointed tip.
Best length: Medium, long
Great for: If you can commit to maintenance appointments and don’t work with your hands often, the stiletto nail shape is a great choice for elongating your fingers.
9. Coffin Nails
The coffin nail shape creates a tapered effect from the base, finishing off with a square top that is slightly narrower than the bottom. Long nails require extra space to achieve proper shaping on the edges, making this particular shape an ideal choice.
How to create: To achieve a flat tip, first create an oval shape by tapering the edges and then square them off.
Best length: Medium, long
Great for: Those who prefer elongated fingers, don’t require pointy tips, don’t frequently engage in manual labor, or can regularly attend maintenance appointments, may find this option suitable.
10. Ballerina Nails
While both the ballerina and coffin nail shapes feature a square top, the ballerina style distinguishes itself by having rounder edges.
How to create: For a flat tip, begin by creating a curved edge by tapering the edges, as if forming an almond shape, then proceed to square off the end.
Best length: Medium, long
Great for: Those who desire elongated fingers, prefer non-pointy tips, don’t frequently engage in manual labor, or can regularly attend maintenance appointments, may consider this option.
11. Lipstick Nails
The contour of this shape resembles the outline of a fresh tube of lipstick. A diagonal edge is achieved by positioning the nail higher on either the right or left side.
How to create: Firstly, create straight edges by filing, then create a slanted effect by filing across the top.
Best length: Short, medium, long
Great for: Seeking a fashionable nail shape or those capable of adhering to maintenance appointments may find this option suitable.
12. Cutout Nails
This shape incorporates a distinctive curved top cutout that produces a stylish, sweeping effect on the nail. The shape boasts squared sides and edges on top, which then gradually slope down in a sweeping motion. This shape adds a playful and flirtatious twist to the classic square nail style.
How to create: Achieve a subtle curve by filing down the edge after squaring off the top.
Best length: Short, medium, long
Great for: Desiring a playful nail shape without requiring additional maintenance may consider this option.
Here’s The Brush You Need for Every Design
- 3D Brush
- Striper/Liner Brush
- Flat/Gel Brush
- Angled Brush
- Fan Brush
- Detailing Brush
- Dotter
- Round Brush
- Filbert Brush
- Square Brush
- Pointed Brush
- Grass Comb Brush
1. 3D Brush
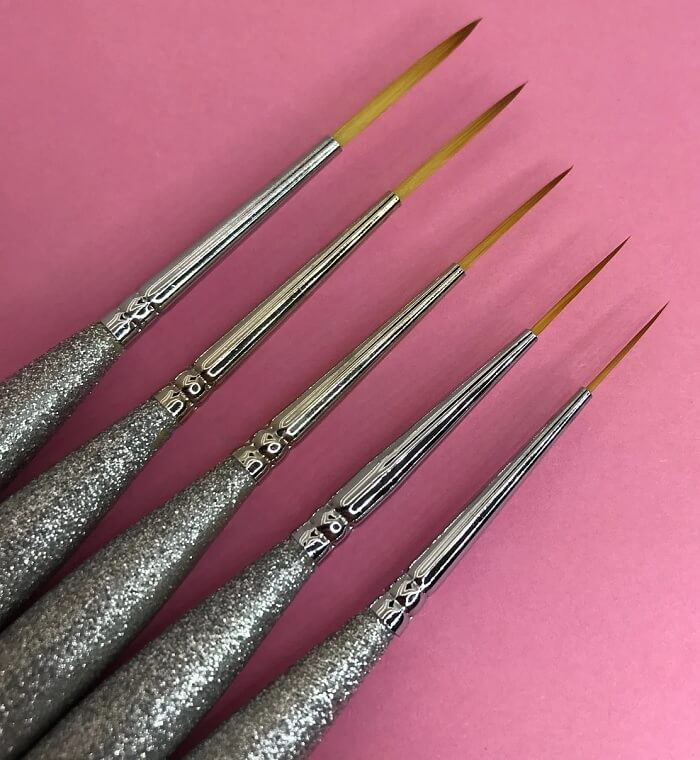
The acrylic brush, specifically the 3D brush with a size of 02, reigns as the supreme and widespread tool for creating versatile nail art designs. Its primary function lies in producing elaborate and intricate designs with precision. Not only does it enable the production of various strokes and patterns, but these brushes also play a crucial role in crafting stunning 3D nail art by utilizing acrylic powder and monomer.
- Intricate designs
- Strokes and patterns
- 3D nail art
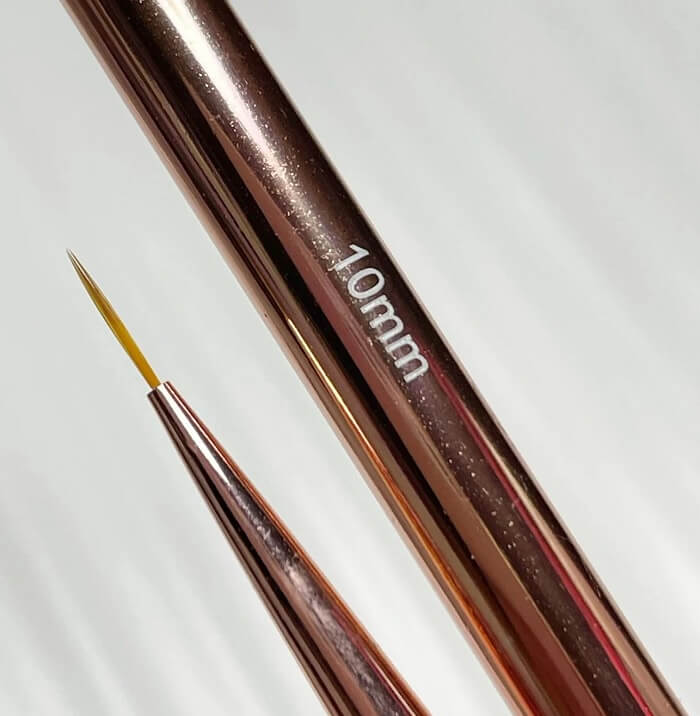
2. Striper/Liner Brush
With this nail brush, one can fashion stripes (long lines), striping stroke patterns, and plaid art (checks) with ease, and it also proves useful in producing animal patterns like zebra or tiger prints.
- Stripes
- Drag marbling
- Plaid
- Geometric patterns
- Animal prints
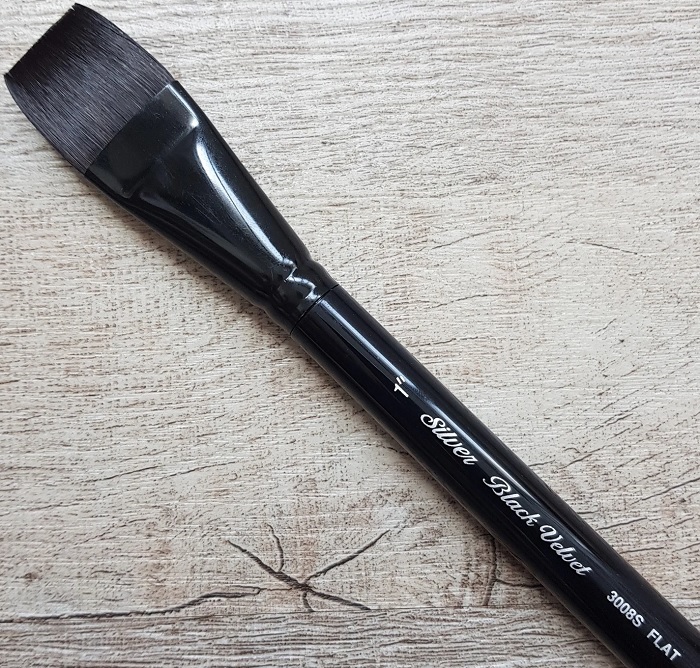
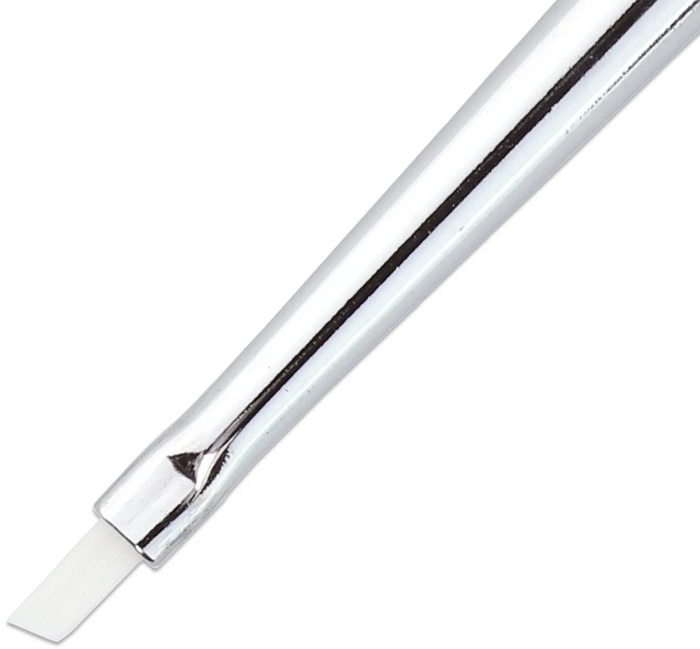
3. Flat/Gel Brush
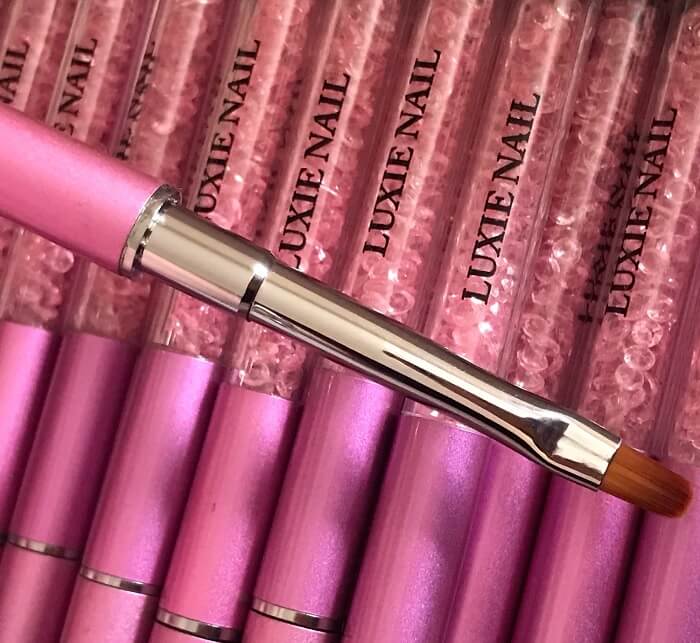
Dubbed as a shader brush, this versatile tool aids in generating lengthy and fluid strokes on the nails, as well as creating one-stroke patterns, blending, and shading. Its usefulness extends to gel nails as well.
- Fluid strokes
- One stroke patterns
- Blending and shading
4. Angled Brush
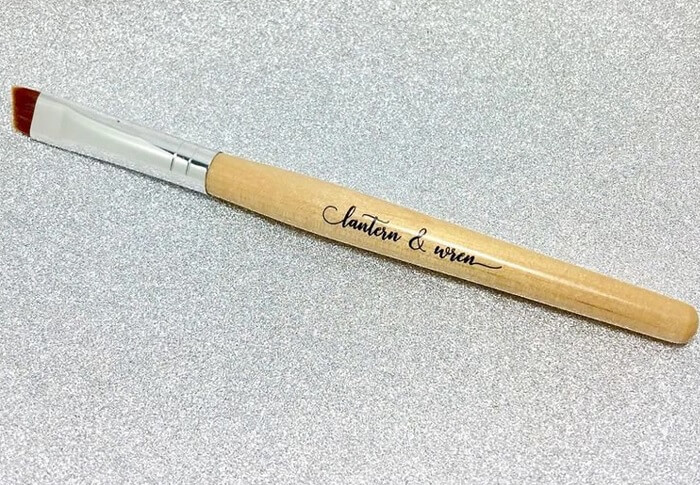
Essentially, this brush proves invaluable in crafting exquisite one-stroke nail art flowers with ease, thanks to its angled bristles that make double-loading two colors a breeze.
- Crisp French lines
- One stroke designs
5. Fan Brush
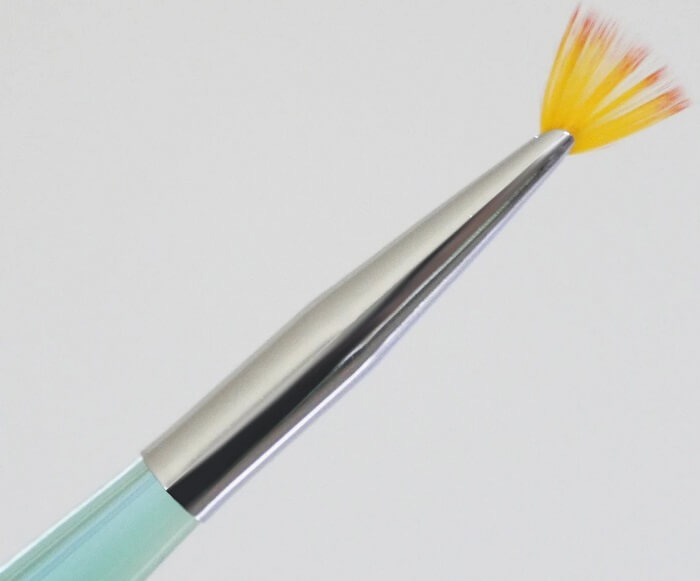
A fan brush boasts a myriad of uses in the world of nail art. From shading to creating elegant swirls and even sprinkling glitter, this versatile tool can produce stunning stroke effects with ease. Furthermore, it’s also handy for brushing off any excess flocking powder or glitter.
- Wispy or feathered effects
- Applying glitter or pigment
- Brushing away excess glitter or pigment
6. Detailing Brush
Buy Now
True to its name, this brush serves the purpose of adding intricate details to your nail design with remarkable precision. The possibilities of creating masterpieces with this tool are endless, making it a must-have in any nail art enthusiast’s tool stash.
- Small details
- Shapes and patterns
- Lettering
- Outlining
- Characters
- Logos
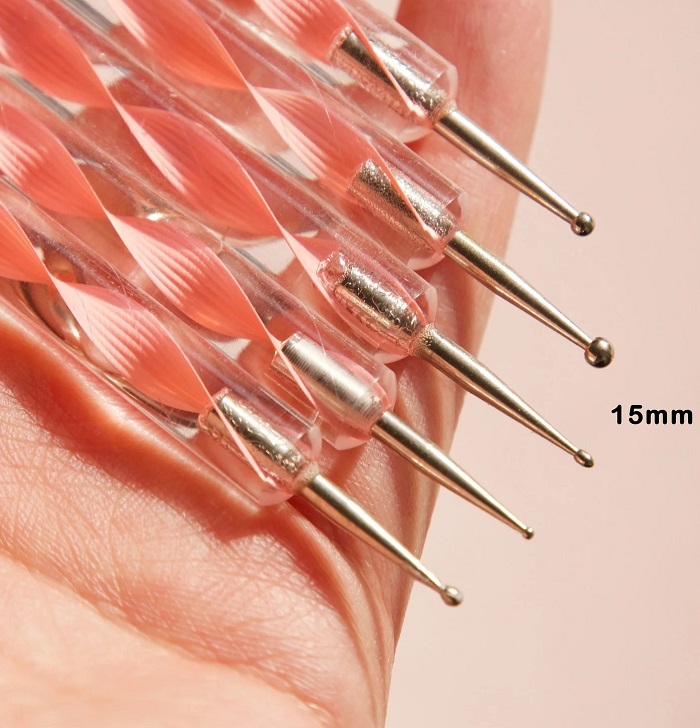
7. Dotter
The inclusion of a dotter tool in your 15-piece nail art brush set is crucial, as its petite head tip enables the creation of a plethora of small dotted effects on the nails, while larger dots can be achieved with bigger dotting tools in the set.
- Polka dots
- Leopard print
- Scalloped edges
- Fast florals
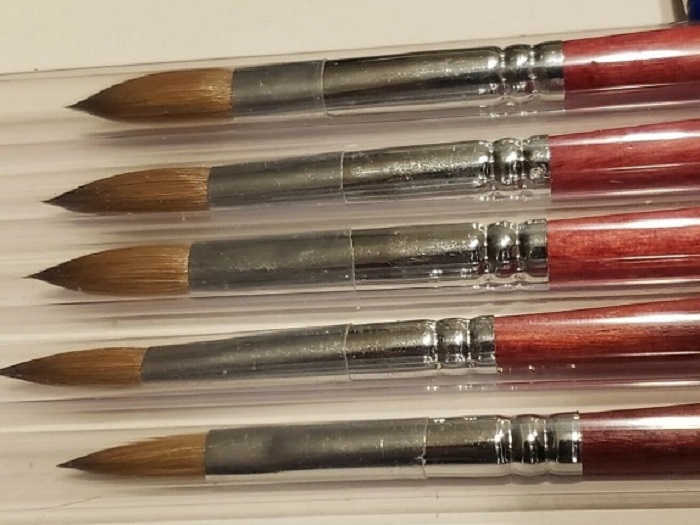
8. Round Brush
Not only is this brush excellent for creating intricate floral designs, delicate petals, and other small nail art motifs, but it also serves as a valuable tool for correcting any mistakes with ease.
- Flower petals
- Covering large areas with color
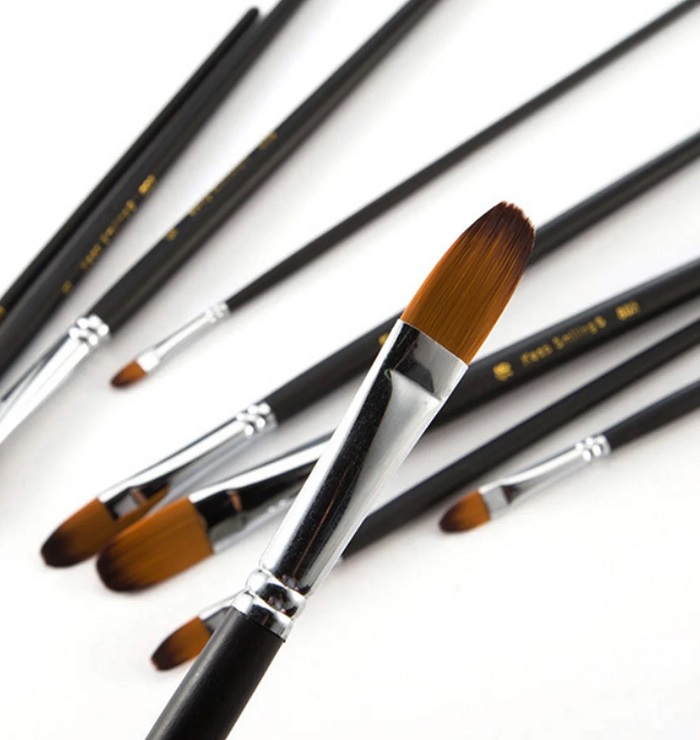
9. Filbert Brush
With its flatter, tapered shape, this brush proves to be an ideal solution for rectifying any errors in your nail art. Simply utilize it to tidy up around the nail, and if need be, dip it in acetone to effortlessly clean up any mishaps.
- Fixing mistakes
- Clean up around the nail
10. Square Brush
The brush’s flat edge renders it perfect for executing precise one-stroke floral designs with ease and accuracy.
- One stroke designs
- Wide bands of color
- Dry brushing
- Color blending for gradients
11. Pointed Brush
For crafting a teardrop shape with this brush, it’s best to begin with greater pressure on the tip, then gradually ease up as you move it, ensuring a smooth and effortless execution.
- Wide stripes
- Petals
- Baroque-style flourishes
12. Grass Comb Brush
Featuring a flat and short-length design, this brush boasts impressive capabilities for creating a range of artistic techniques, including airbrush effects, grass, feathers, and more.
- Airbrush effects
- Grass
- Feathers
What to Consider When Buying Nail Art Brushes:
1. Brush Shape
When in the market for a nail art brush, it’s crucial to prioritize its shape, as the right shape can lead to the creation of an array of distinct nail art styles, and simply changing the brush can completely transform your design.
2. Quality
The nail art brush market features an extensive spectrum of quality, from sets comprising 20 brushes for a handful of dollars to those that fetch over $20 for a single brush. As you delve deeper into the nail art world, investing in a more expensive set may be worthwhile. These brushes typically furnish enhanced precision, comfortable handling, and durable bristles.
3. Bristles
When it comes to nail art brushes, you can find them with either natural or synthetic bristles, but the quality can vary for both types. However, many modern nail art brushes feature high-quality synthetic bristles that are vegan, cruelty-free, long-lasting, and resistant to acetone.
Things You Must Remember When Getting Acrylic Nails:
1. Keep Your Nails Healthy:
Maintaining clean nails is crucial, particularly since acrylic nails create an extra layer over your real nails. To ensure their longevity, it’s important to regularly clean them. You can use a soft-bristled brush to remove any tough dirt around and under the nails, followed by a cotton swab dipped in alcohol to clean the cuticles and underneath the nails.
2. Find Yourself A Regular Manicurist:
Having a regular manicurist can be incredibly convenient and efficient. When you find someone you trust, they will understand your preferences and concerns, and you won’t have to waste time explaining them each time you go in for a manicure.
3. Keep Your Nails Dry:
It’s essential to dry your hands completely after washing them to prevent any damage to your acrylic nails. Moisture trapped beneath the nails can cause them to lift, making them more susceptible to fungal growth. When doing dishes, consider wearing gloves to protect your nails from prolonged exposure to water and harsh cleaning agents.
4. Oil Your Nails:
To prevent nails from becoming brittle and breaking easily, it’s important to keep them moisturized. One way to do this is by using a neutral oil like rapeseed oil.
5. Be careful doing housework:
To avoid any damage to your nails, be cautious of using cleaning products containing strong chemicals. Soaking your acrylic nails in warm soapy water is also a no-go, as it can result in them lifting. It’s always best to be prepared and wear rubber gloves when tackling any household chores, to keep your nails healthy and beautiful for longer.
6. Avoid pressure on your nails:
The familiar sound of acrylic nails tapping on devices can take a toll on their longevity. To avoid the need for frequent replacements, it’s best to limit unnecessary pressure on the nails. When typing or handling objects, use the pads of your fingers instead of involving the nails as much as possible.
What Contributes To The Cost of Acrylic Nails?
To ensure you’re not caught off guard by unexpected expenses, it’s crucial to have a firm grasp of the desired length, shape, color, and design before settling into the artist’s chair. These elements can significantly impact the final cost, making it all the more important to have a clear vision in mind. That said, there are a plethora of other factors that warrant careful consideration as well:
- Salon location
- Type of salon (boutique, resort, home salon, commercial salon)
- Nail artist’s expertise
- Nail length
- Nail shape
- Nail design
- Type of polish (gel, conditioning, regular)
- Nail artist’s tip
Artificial Nails: Dermatologists’ Tips For Reducing Nail Damage:
- Choose soak-off gel nails instead of acrylic nails.
- Go to a salon that uses an LED curing light rather than a UV curing light.
- Ask your nail technician to skip the cuticle trimming.
- Reserve artificial nails for special occasions.
Acrylic Nail Removal Items Required:
1. 100% Acetone
2. Cotton pads or balls
3. Aluminum foil
4. Cuticle pusher (orange stick)
5. Nail file
6. Nail buffer
7. Lint-free wipes or a clean, dry cloth
8. Nail clippers
9. Cuticle oil
How Can Acrylics Damage a Person’s Nails and Skin?
Allergic reactions and eczema
- Redness or discoloration
- Itchiness
- Areas of peeling
- Cracked or scaly patches
- Dryness
Pros and Cons of Acrylic Nails:
Pros:
- For women struggling with weak or brittle nails, acrylic extensions can provide a durable and long-lasting solution.
- For women struggling to break the habit of nail-biting, acrylic nails can provide an effective deterrent due to their durability and toughness.
- Nail technicians at salons and spas are often well-versed in the application and removal of acrylic nails, meaning you can rest assured that the process will be carried out with expertise and minimal risk of side effects.
- In comparison to their counterparts, they offer a more budget-friendly option.
- With the appropriate tools, it is possible to fix it at home.
- Compared to gel nails, their durability is superior and longer-lasting.
Cons:
- Acrylic nails have the potential to cause harm to the natural nail bed, hindering its growth and creating a favorable environment for the proliferation of fungus and bacteria.
- Since acrylic nails are man-made, they can often have an artificial appearance, and it takes a skilled technician to create a look that closely resembles natural nails.
- Acrylic nail application necessitates the use of potent chemicals and the release of fumes, which may trigger an allergic reaction in some women.
- Monthly refills are required for acrylic nails, which can lead to additional expenses.
FAQs
Is it possible to apply acrylic nails on my own?
Yes, it is possible to apply acrylic nails oneself, we highly recommend seeking professional application for optimal results.
How long do acrylic nails last?
With regular infills every 2-3 weeks, acrylic nails can be worn for an extended duration. To promote healthy growth and allow the natural nails to breathe, it is recommended to soak off the acrylics entirely every three months.
How much is a full set of acrylic nails?
The price range for a complete set of acrylic nails varies between $25 to $55, depending on whether you opt for a basic manicure with minimal embellishments such as simple designs, regular shapes like oval or square, or protective coatings like gel polish.
How much do different shapes cost?
While basic shapes like square, round, and oval typically cost between $35-$55, opting for more intricate shapes like stiletto, almond, or coffin can add an additional $10 to the overall cost for a more stylized and elaborate appearance. Nonetheless, there are numerous shapes to choose from, each with varying price points.
Can I save money if my nails are already long?
If acrylic nails are your preferred choice, the length of your natural nails is inconsequential since the extensions will fully cover them, rendering the condition of your natural nails irrelevant.
How much do acrylic nails with designs cost?
In general, the addition of design elements to acrylic nails can incur an additional cost of $5-$10. However, the price may vary depending on the size and complexity of the design. For instance, designs that require longer drying times, ombré fading, or 3D add-ons may lead to a higher overall cost.
How much does it cost to repair a broken acrylic nail?
The cost of repairing broken acrylic nails can typically range from $10-$15 per nail, but the overall expense may vary based on the severity of the damage and the number of affected nails.
Rose Frank
Latest posts by Rose Frank (see all)
- Knitting with Rayon Yarn: Properties & Patterns - May 3, 2024
- Knitting with Polyester Yarn: Properties & Patterns - February 20, 2024
- Different Types of Fabric: Names of Cloth Materials - February 1, 2024
